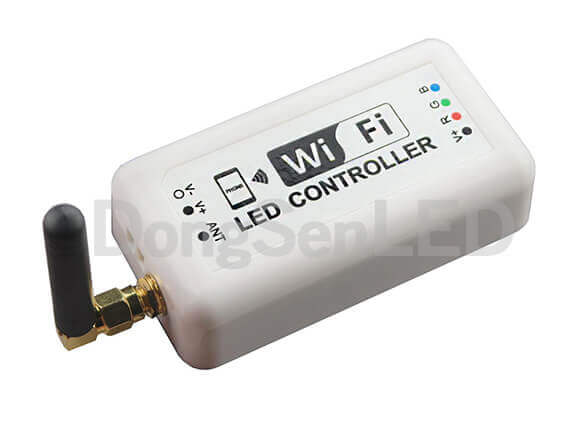
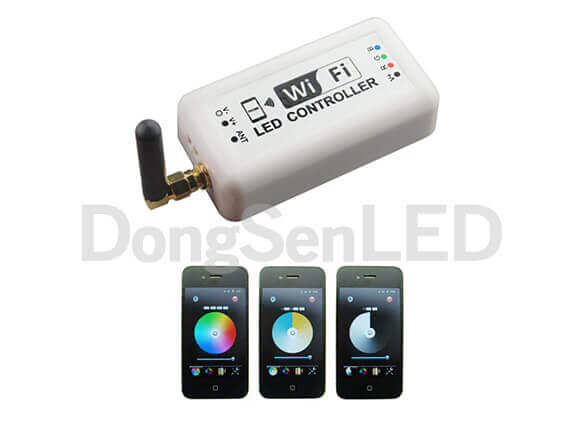
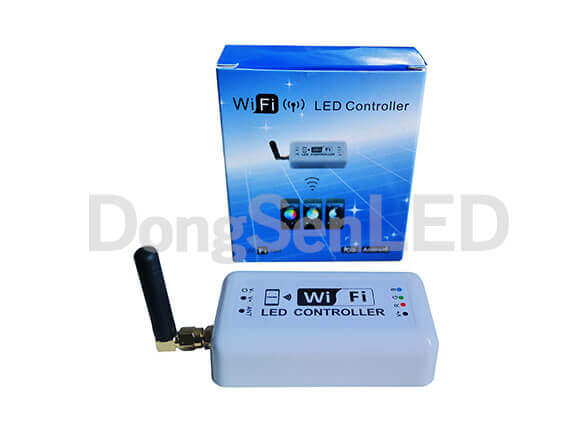
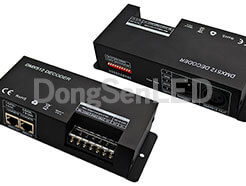
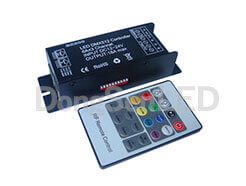
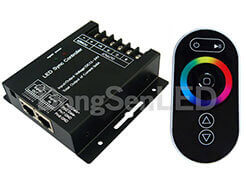
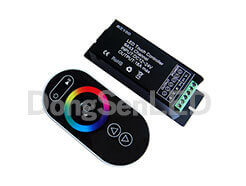
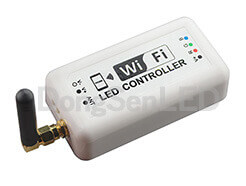
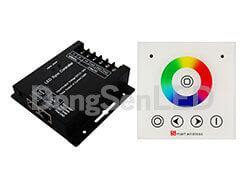
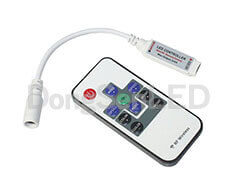
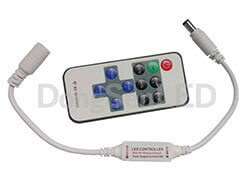
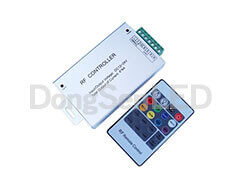
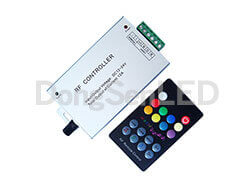
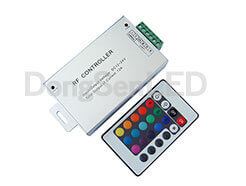
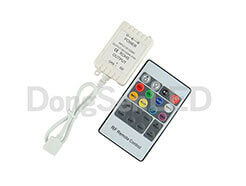
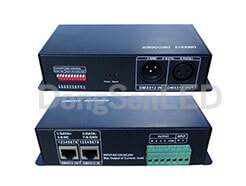
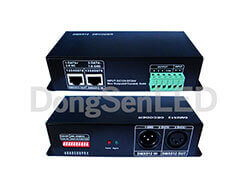
Controller:
| Parameter | Description | ||
|---|---|---|---|
| Working temperature | -20-60℃ | ||
| Working voltage | DC12~24V | ||
| Power consumption | <3W | ||
| Connect method | Common anode | ||
| WIFI brightness level | 100 | ||
| WIFI speed level | 100 | ||
| Output | 3 channels | ||
| Output current | ≤4A(each channel) | ||
| WIFI frequency | 2.4GHz | ||
| Output gray scale | 256 | ||
| Receiving sensitivity | 802.11b:DSSS(-5dBm) 802.11b:CCK(-10dBm) 802.11g:OFDM(-15dBm) | ||
| Output power | 12V: ≤144W 24V: ≤288W | ||
| Dimension | L106*W45*H23mm | ||
Software:
| Parameter | Description | ||
|---|---|---|---|
| Name | Free Color V1.0 | Platform | Android 2.1 or above, IOS4.3 or above, with the wifi function |
| Size | Android(661KB) , IOS(1.4MB) | ||
| Category | Communication | Language | English |
Using illustration
1. Free Color V1.0 software installation and SSID (system settings ID) reset.
1.1 Software installation
- Android: the software copy in CD which packed in the box. Open the CD and double-click the "Freecolor.apk"to start the installation.
- IOS: the same as the other software from App Store download the "Free color" from App store and install.
1.2 Resetting SSID
- If more than one WIFI-V01 in close area, we can reset the SSID for the devices in order to avoid they jamming each other. The SSID are 16 in max.
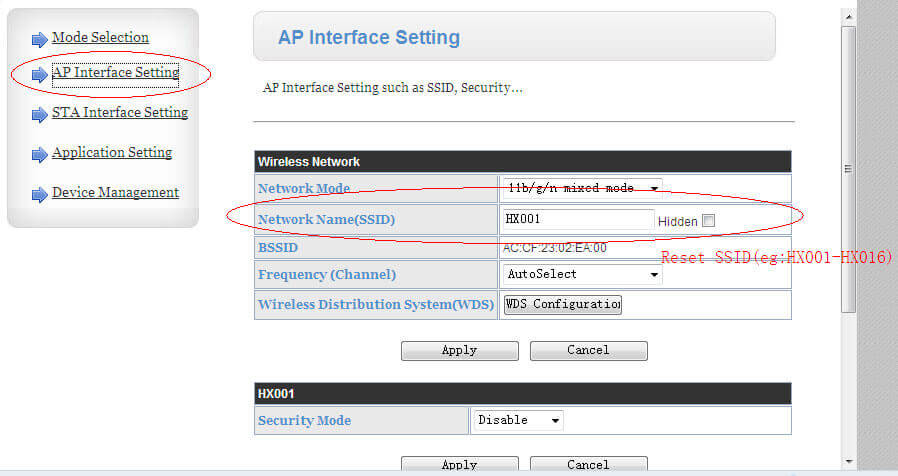
- The default SSID number for all devices is DS001, a device with WIFI function will be needed when resetting the SSID.
The SSID rang is: DS000-DS016. The steps are as follow:
①Making the WIFI-V01 properly connected, and then open the power;
②Opening the WIFI device browser, type in "192.168.2.2", the interface will pop into as below:
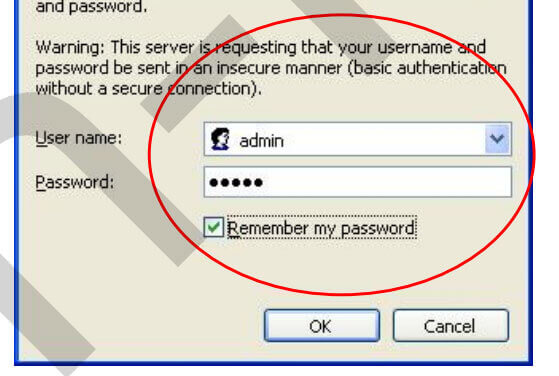
The initial default Username: admin, password: admin. And "OK".
③Resetting the SSID in the page as below:
④If necessary, setting the linking password for more security.
A. Select the "Security Mode": WPA2-PSK.
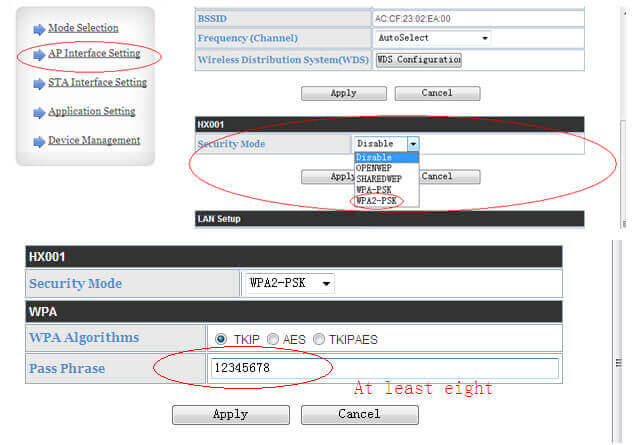
After setting, click "Apply" to finish.
⑤If necessary, setting new "Username" and password in the page as below:
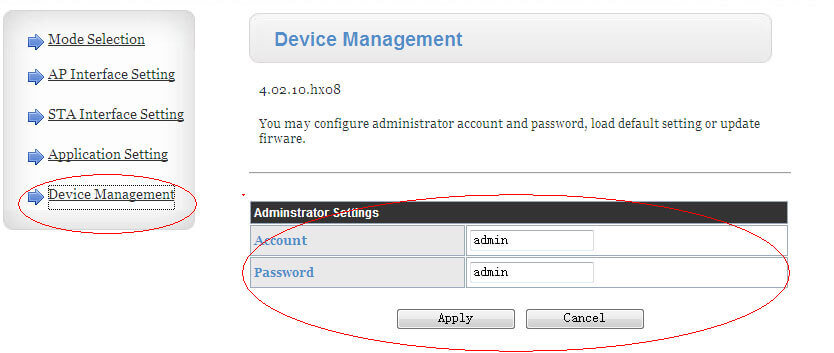
After setting, click "Apply" to finish.
2.FreeColor V1.0 software operating illustration
Making the WIFI-V01 and LED products in correct connection, and then turn on the power supply;
After step 1), open the WIFI setting interface on the device with WIFI function will find the WIFI which named "HX---", connect it.
Open the "Free Color" and start operation. There also have "WIFI Connection Setting" page in the software.
"Free Color" is 3-in-1 (Dimmer, CT, RGB) software, the RGB scene is the default application interface. Enter the "System Setting" page to change the selection. The interface as below:
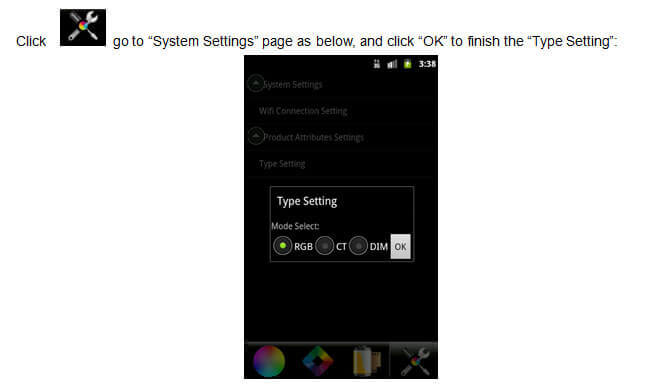
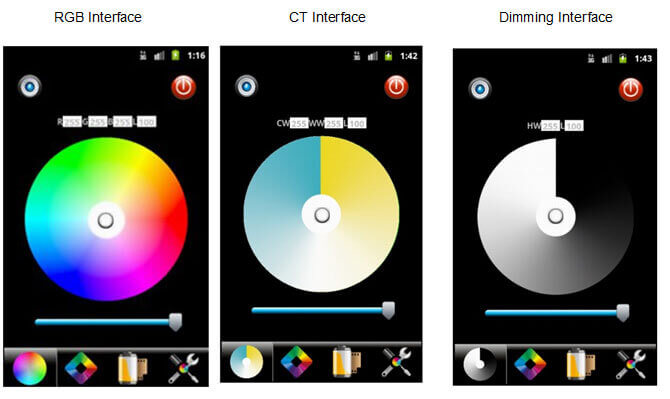
Using RGB interface as example(Dimming and CT are same)
① RGB control interface:
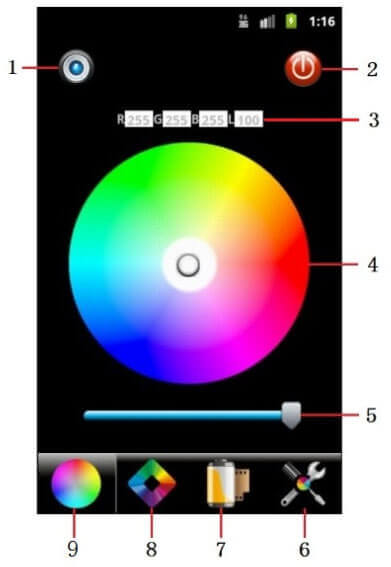
| No. | Button | Function |
|---|---|---|
| 1 | DIY mode saving key | After DIY, click this key to save. Saving the DIY mode in anytime |
| 2 | ON/OFF | Turn on/off WIFI-V01 |
| 3 | Color value | Display the R/G/B gray value, “L”: the current brightness level. |
| 4 | Color board | Select any static color mode from the board. |
| 5 | Brightness slip | Slip to adjust the current light brightness, 100 levels in total. |
| 6 | System setting | Click to system setting page, set the WIFI connection and select the application scene (Dimming, CT, RGB). |
| 7 | DIY memory function | Go to DIY modes select page. Display all of the DIY modes. |
| 8 | Dynamic modes | Go to select the dynamic modes. |
| 9 | Current application show | Display the current application scene. |
②Dynamic modes control interface:
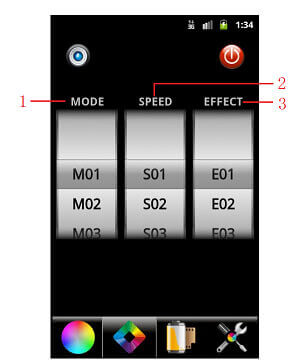
MODE:select the different dynamic mode, such as flash, fade and etc;
SPEED:select the speed level of the dynamic mode,100 levels in total;
EFFECT:select the different effect based on the different mode.
③ DIY modes manage interface:
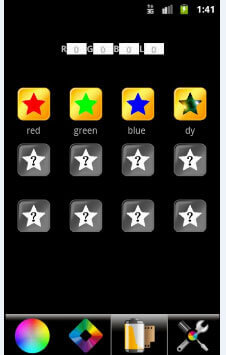
This page displays all of the DIY modes which have been saved, up to 12 modes in total.
④ System Setting interface:
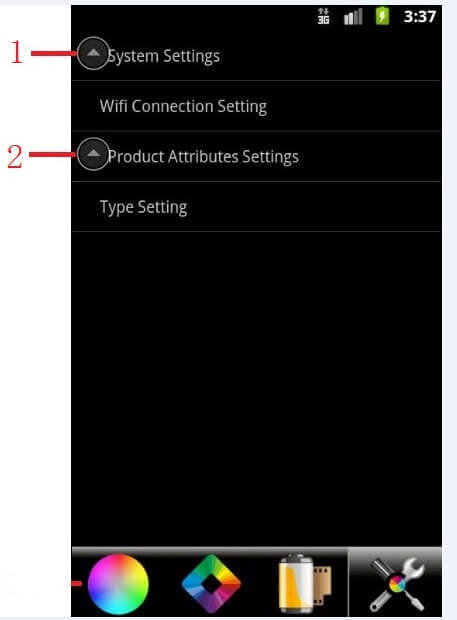
System Settings:wifi connection Setting;
Product Attributes Settings:Type Setting (RGB/CT/DIM).
